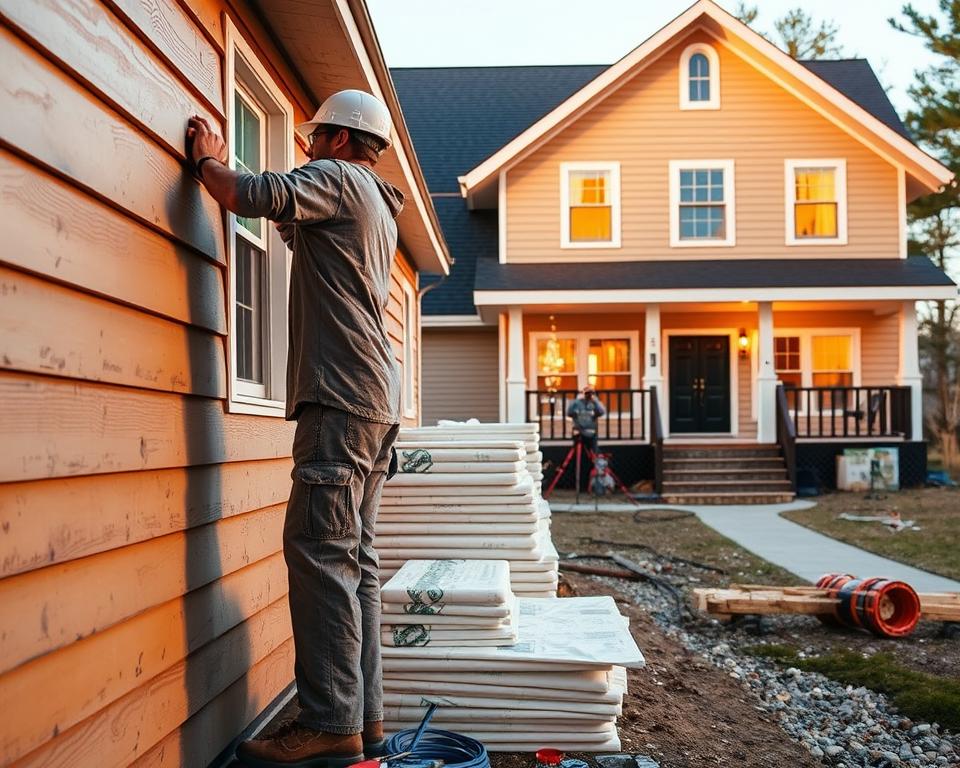
Fixing your home’s exterior is a big job, but it’s doable with the right help. Damaged or worn-out siding can make your home less energy-efficient and look bad. This article will show why insulated siding repair is key and give you a simple guide to fix your home.
Fixing or replacing your insulated siding can make your home more energy-efficient and look better. It also keeps your home safe from the weather. Our guide will help you fix your siding, no matter the damage. It’s a simple way to make your home look great again.


Key Takeaways
- Enhance your home’s energy efficiency with proper insulated siding repair.
- Boost your home’s curb appeal by restoring its exterior.
- Protect your home from the elements with effective exterior home repair.
- Follow a step-by-step guide to achieve your home restoration goals.
- Improve your home’s overall appearance and value.
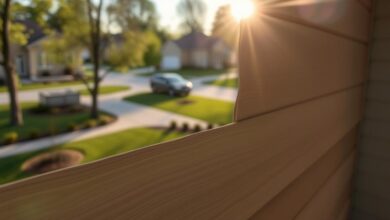
Understanding Insulated Siding and Its Benefits
Insulated siding is gaining popularity for its durability and energy-saving features. It’s not just about looks; it helps cut down on energy use.
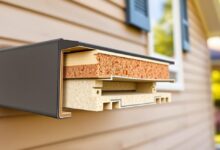
What Makes Insulated Siding Different from Regular Siding
Insulated siding has a special layer of foam plastic insulation. This layer stops heat from moving in and out of your home. The thickness and type of insulation depend on the maker and what you need.
| Feature | Insulated Siding | Regular Siding |
|---|---|---|
| Insulation Layer | Built-in foam plastic insulation | No built-in insulation |
| Energy Efficiency | High energy efficiency due to reduced heat transfer | Lower energy efficiency |
| Durability | Highly durable, resistant to warping and cracking | Durability varies by material |
The Energy Efficiency Advantages of Proper Maintenance
Keeping insulated siding in good shape is key to its energy-saving benefits. Regular cleaning and checks can spot problems early. By keeping the siding in top condition, you can save on heating and cooling costs.
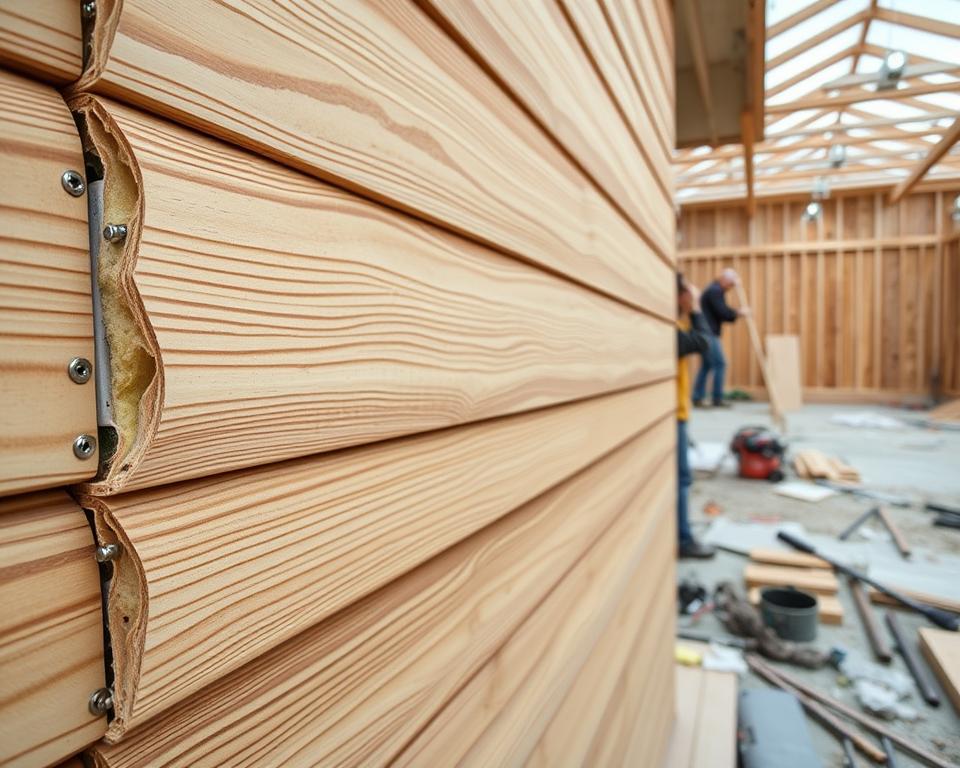
Assessing Damage to Your Insulated Siding
First, you need to understand the damage to your insulated siding. This helps you fix it right. Regular checks can spot problems early, saving you money and effort.
Common Types of Damage to Look For
Insulated siding can get damaged in many ways. You might see cracks, holes, warping, or panels that are loose or detached. Visual inspections are key to finding these problems.
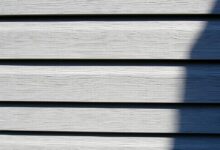
Visual Inspection Techniques
To check your siding, look for signs like cracks or color changes. Use a ladder safely to get a better view.
Testing for Hidden Damage
It’s also important to test for damage you can’t see. Check for soft spots or use a moisture meter to find hidden water damage.
Determining Whether to Repair or Replace
After finding the damage, decide if you should fix it or replace it. Small damage might be fixed, but big damage might need a new siding. Think about your siding’s age, the damage, and your budget.
A professional assessment can really help. They can tell you the best way to handle the damage if you’re not sure.
- Check for cracks and holes that can compromise insulation.
- Inspect for warping or buckling that can affect siding performance.
- Look for loose or detached panels that need reattachment or replacement.
By carefully checking your insulated siding’s damage, you can make smart choices. This keeps your home energy-efficient and looking good.
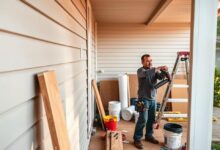
Essential Tools and Materials for Insulated Siding Repair
Before starting insulated siding repair, it’s key to have the right tools and materials. Having everything ready will make the job easier and faster.
Must-Have Tools for DIY Repairs
For DIY insulated siding repair, you’ll need several tools. A utility knife is for cutting siding, and a pry bar for removing damaged parts. A hammer is used for tapping pieces into place.
You’ll also need a tape measure and level. They help with accurate measurements and ensuring things are straight.
Materials You’ll Need Based on Siding Type
The materials needed for insulated siding repair depend on the siding type. We’ll cover what you need for vinyl and fiber cement siding repairs.
Vinyl Insulated Siding Materials
For vinyl siding, you’ll need vinyl siding repair patches or new siding panels to fix damaged areas. You might also need vinyl siding nails or adhesive to secure the siding.
Fiber Cement Insulated Siding Materials
Fiber cement siding repairs often need fiber cement patching compound for filling in cracks and holes. If the damage is big, you might have to replace the damaged section with new fiber cement siding.
Galvanized or stainless steel nails are best for securing fiber cement siding.
Preparing for Your Insulated Siding Repair Project
Before starting your insulated siding repair, it’s key to prepare well. This means taking safety steps and cleaning the damaged spot for the best outcome.
Safety Precautions to Take Before Starting
Your safety is the top priority in a siding repair project. Wear gloves and safety glasses to avoid injuries from debris and sharp edges. Also, ensure your ladder is stable and secure to avoid falls.
Ladder safety is critical; always keep three points of contact, like two hands and one foot. If you can, have someone hold the ladder for you.
Cleaning and Prepping the Damaged Area
Cleaning the damaged area is vital for a good repair. You need to remove dirt and debris to create a clean work surface.
Removing Dirt and Debris
Use a soft-bristled brush or cloth to gently remove dirt and debris. This helps you see the damage clearly and prepares the area for repair.
Creating a Clean Work Surface
After cleaning, use a mild detergent and water to clean the area. Rinse well and let it dry completely before starting the repair. A clean surface helps repair materials stick better.
Insulated Siding Repair Tips for Different Damage Types
Different damage types need specific repair methods to fix your home. Cracks, water damage, or loose panels require the right approach. This ensures your home stays energy-efficient and looks great.
Fixing Cracks and Small Holes
Cracks and small holes are common in insulated siding. First, clean the area around the damage well.
Using Fillers and Patches
For small cracks, a high-quality filler works well. Apply it generously and smooth it out with a putty knife. For bigger holes, patches are better. Cut a patch from matching siding, apply adhesive, and press it firmly.
Sealing Techniques
After fixing, sealing is key to prevent more damage. Use a waterproof sealant around the repair. This keeps your siding strong and stops water leaks.
Repairing Water Damage and Warping
Water damage and warping can harm your siding’s structure. First, find and fix the leak. Then, check how bad the damage is. For minor warping, try to straighten it while damp, then hold it until dry.
Addressing Loose or Detached Panels
Loose or detached panels often come from bad installation or damage. Check the panel and area first. Use the right fasteners to reattach it securely. If it’s too damaged, replace it.
By using these siding repair tips, you can fix various damage types. Regular care and quick fixes will make your siding last longer. This keeps your home energy-efficient and looking good.
Step-by-Step Guide to Replacing Damaged Insulated Siding Sections
Replacing damaged insulated siding is easy with the right steps. Homeowners can choose to repair or replace damaged sections. If the damage is too much, it’s best to replace the siding.
Removing the Damaged Section Safely
The first step is to safely remove the damaged section. This is done carefully to avoid more damage to the siding or structure.
Working with Vinyl Insulated Panels
For vinyl panels, use a utility knife or siding tool to gently pry the damaged panel away. Be careful not to harm the panels next to it.
Working with Fiber Cement Insulated Panels
Fiber cement panels are harder to remove because they’re durable. Use a pry bar or a special tool to remove the damaged panel without damaging the area around it.
Installing New Insulated Siding Properly
After removing the damaged section, install the new siding. Make sure the new panel fits well with the surrounding siding and is securely fastened as the manufacturer suggests.
Ensuring Proper Insulation Continuity
It’s important to keep insulation continuity during replacement. Check that the new siding is sealed well and there are no gaps or cracks that could let air through.
| Siding Type | Removal Method | Installation Tips |
|---|---|---|
| Vinyl Insulated Panels | Use utility knife or siding removal tool | Align carefully, secure according to manufacturer’s instructions |
| Fiber Cement Insulated Panels | Use pry bar or specialized tool | Ensure proper sealing, check for gaps or cracks |
By following these steps and knowing your siding type, you can replace damaged sections well. This keeps your home energy-efficient.
Finishing Touches and Weatherproofing
Sealing your insulated siding right is key to keeping it energy-efficient and strong. After fixing any issues, you need to add the final touches. These steps protect your home from weather and make it look like new.
Sealing and Caulking for Maximum Energy Efficiency
Sealing and caulking are vital to stop air leaks and keep moisture out. The right sealants and caulks boost your home’s energy efficiency. Sealing around windows, doors, and joints is key to keep your home warm in winter and cool in summer.
Choose a sealant that fits your siding type and repair needs. Silicone-based sealants are great for their lasting power and flexibility. Make sure the surface is clean and dry before applying for a strong bond.
Matching Paint and Texture for Seamless Repairs
To make repairs look seamless, match the paint and texture of your siding. This improves your home’s look and keeps its value high.
Color Matching Techniques
Color matching means picking a paint that matches your siding’s original color. Take a siding sample to a paint store to find the best match. Think about the siding’s age and how it’s weathered.
Texture Application Methods
Texture application is also key to blending repairs with the rest of your siding. The method depends on your siding type. For example, using a texture sprayer can give a uniform look. Test it on a small area first to get the right effect.
Conclusion: Maintaining Your Insulated Siding for Longevity
Keeping your insulated siding in good shape is key to its long life. Regular checks for damage help avoid expensive fixes. This also keeps your home energy-efficient.
Regular cleaning and checks can spot problems early. Look for cracks, dents, or warping. Fixing these issues quickly is important. Also, make sure your siding is sealed well with caulk.
By following this guide and staying on top of maintenance, your home will look great and stay energy-efficient. Good home care, like maintaining insulated siding, is vital. It helps your siding last longer and keeps your home’s value up.