Are you tired of the constant din of traffic or neighborhood noise disrupting your peace at home? Noise reduction is a top priority for homeowners seeking a serene living environment. Installing insulated siding is an effective solution. It not only enhances your home’s exterior but also acts as a barrier against unwanted sounds.
Soundproofing your home has never been easier, thanks to advancements in home improvement technologies. This guide will walk you through a step-by-step process on how to achieve a quieter home using insulated siding.


Key Takeaways
- Understand the benefits of insulated siding for noise reduction.
- Learn how to choose the right insulated siding for your home.
- Discover a step-by-step guide to installing insulated siding.
- Explore additional soundproofing tips to enhance your home’s quietness.
- Improve your home’s overall value and comfort with insulated siding.
Understanding Insulated Siding and Noise Reduction
Insulated siding is a new way to make your home look better and quieter. It’s important to know what it is and how it helps block sound.
What Is Insulated Siding?
Insulated siding is a mix of siding and insulation. It makes your home more energy-efficient and quieter. It reduces heat transfer and minimizes sound penetration. This makes it great for those who want a better living space.
The insulation is built into the siding. This makes it strong and effective.
How Sound Travels Through Walls
Sound moves through walls by vibrating air and solid objects. When sound hits a wall, it makes the wall vibrate. This lets the sound go through to the other side.
The type of wall and materials used affect how well sound travels. Walls with more mass and less air leakage block sound better. Insulated siding adds a layer to dampen these vibrations.
How Insulated Siding for Noise Reduction Works
Insulated siding works by absorbing sound waves. It’s designed to stop sound from getting inside your home. This makes it great for reducing noise.
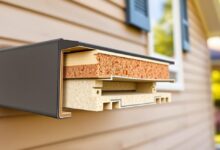
Sound Dampening Properties
Its layers are key to its sound-blocking power. The outside layer, often vinyl or fiber cement, blocks noise. Underneath, insulation absorbs sound waves, keeping them out.
STC Ratings Explained
The STC (Sound Transmission Class) rating shows how well siding blocks sound. A higher STC means better soundproofing. For example, an STC of 50 or more is very effective.
Comparing Insulated vs. Standard Siding
Insulated siding beats standard siding in noise reduction. Standard siding lacks insulation, so it doesn’t block sound well. Here’s why:
- Insulated siding has insulation, making it better at blocking sound.
- Standard siding is just one layer, which doesn’t absorb sound.
- Insulated siding usually has a higher STC rating than standard siding.
Choosing insulated siding means a quieter home. It’s a top pick for those wanting less noise.
Types of Insulated Siding Options
The market has many insulated siding options for different needs. Homeowners can pick from various materials and systems. Each has its own benefits and possible downsides.
Vinyl Insulated Siding
Vinyl insulated siding is a favorite for its durability and easy upkeep. It combines vinyl with foam insulation for better energy use and quieter homes. Vinyl insulated siding also resists fading, cracking, and warping, lasting a long time.
Fiber Cement with Insulation
Fiber cement siding with insulation is strong and fire-safe. It’s made of cement, sand, and cellulose fibers for a tough exterior. Adding insulation boosts the building’s energy efficiency. Fiber cement siding looks like wood siding, making it versatile.
Foam Backing Systems
Foam backing systems add foam insulation to siding panels for a full insulation layer. This setup cuts down on heat transfer and air leaks. Foam backing systems work with vinyl and fiber cement, giving design and installation flexibility.
Knowing the various insulated siding options helps homeowners make better choices. Whether it’s vinyl, fiber cement, or foam backing, each offers unique advantages. These benefits can improve a home’s comfort, energy use, and value.
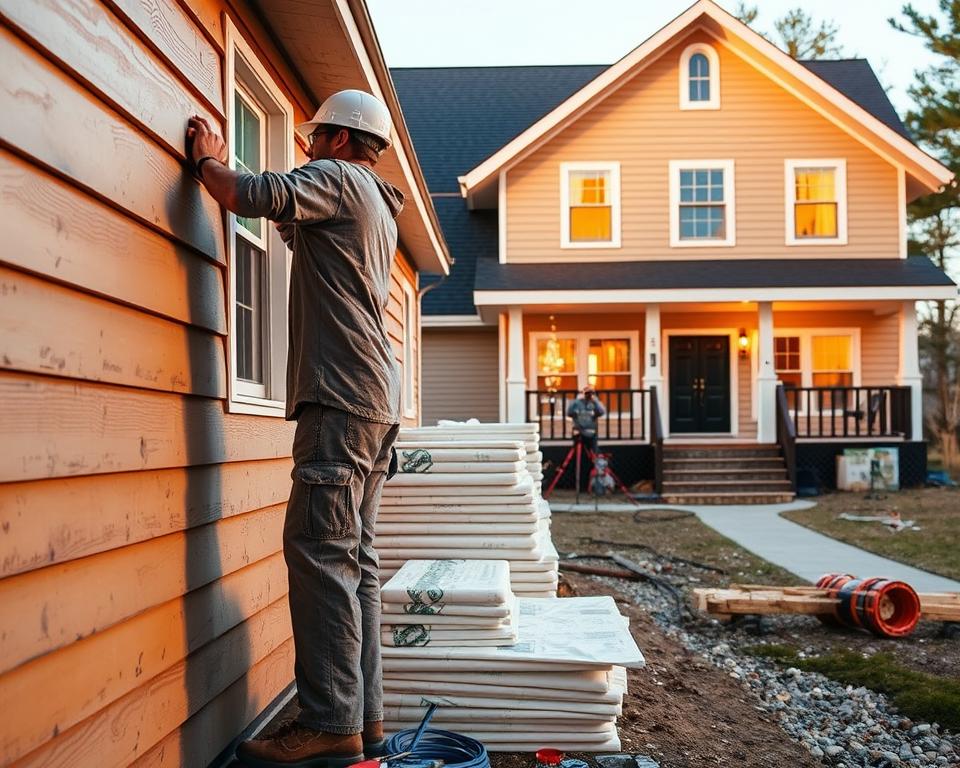
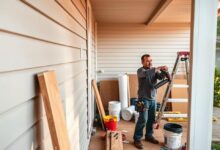
Preparing for Installation
Getting ready for insulated siding installation is key. Homeowners need to check their siding, measure materials, and get the right tools and materials.
Assessing Your Current Siding Situation
Before putting in new siding, check your current siding. Look for damage, rot, or wear. This helps you know what to do next.
Measuring and Calculating Materials
Measure your house’s size to get the right materials. Calculate the square footage and add 10-15% for waste. Remember to think about windows, doors, and corners.
Tools and Materials Checklist
For a smooth install, have the right tools and materials. Here’s what you need:
- Siding panels
- Insulation backing
- Fasteners (nails or screws)
- Utility knife
- Tape measure
- Level
- Safety glasses
- Ladder or scaffolding
| Tool/Material | Description | Quantity |
|---|---|---|
| Siding panels | Insulated siding for exterior walls | Calculated based on wall dimensions |
| Insulation backing | Foam or foam-board insulation | Same as siding panels |
| Fasteners | Nails or screws for securing siding | Depends on siding type and local building codes |
Step-by-Step Installation Process
Installing insulated siding needs careful planning and execution. Homeowners must be meticulous to ensure the siding works well in reducing noise.
Step 1: Removing Existing Siding
The first step is to remove the old siding. This involves carefully prying it off to avoid damaging the wall. It’s important to wear protective gear like gloves and safety glasses to prevent injury. Proper siding removal is key for a smooth installation.
After removing the old siding, check the wall for damage or rot. Fixing these issues before moving on is important to ensure a stable surface for the new siding.
Step 2: Preparing the Wall Surface
Next, prepare the wall surface. Clean the wall to remove dirt, debris, or old adhesive. It’s critical to have a clean and dry wall for the new siding. A clean and dry wall surface improves the siding’s performance and longevity.
Step 3: Installing Moisture Barrier
Installing a moisture barrier is a key step to prevent water damage. The barrier should be applied as instructed by the manufacturer, with edges overlapping to prevent gaps. A properly installed moisture barrier protects the wall from moisture.
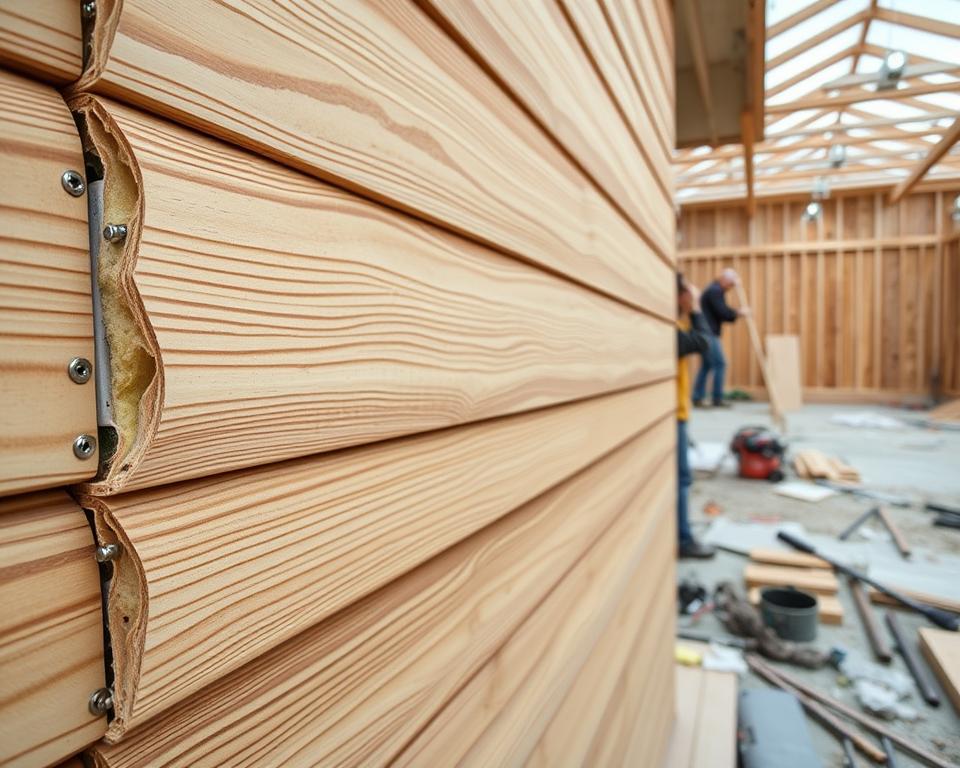
Step 4: Attaching Insulation Backing
Then, attach the insulation backing to the wall. This adds thermal insulation and noise reduction. It’s important to follow the manufacturer’s guidelines for spacing and fastening. Proper insulation backing installation boosts the home’s energy efficiency.
Step 5: Installing Siding Panels
Lastly, install the insulated siding panels. Snap the panels into place, ensuring they are securely fastened as instructed. Check for gaps or misalignments during installation. Correctly installed siding panels enhance the home’s appearance, energy efficiency, and noise reduction.
After installation, inspect the siding for any defects or irregularities. Fixing these issues promptly ensures the siding works as expected.
Finishing and Maintenance
Installing insulated siding is just the start. Finishing and regular upkeep are key to getting the most out of it. Paying close attention to the details ensures your siding works well and adds value to your home.
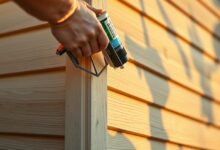
Installing Trim and Accessories
Adding trim and accessories is a big part of finishing your home’s look. Proper trim installation makes your home look better and covers any gaps. Choose trim that’s strong and fits well with your siding.
Sealing and Weatherproofing
Sealing and weatherproofing keep your insulated siding safe from the weather. Sealing gaps or joints stops water from getting in and prevents damage. Adding a waterproof coat can make your siding last longer and work better.

Cleaning and Long-term Care
Keeping your siding clean and well-maintained is important. Clean your siding often to avoid damage from dirt and debris. Also, check your siding regularly for any damage or wear. This helps keep it looking good and working well.
By taking care of these details, you can enjoy your insulated siding’s benefits for many years. This includes better noise control and energy savings.
Conclusion
Insulated siding brings many benefits, like less noise pollution. It’s great for those wanting a better home environment. Knowing about the different types and how to install them helps in making smart choices for your home.
A noise reduction summary shows how well insulated siding blocks outside noise. This makes your home quieter and more peaceful. The siding’s sound-dampening features and STC ratings play a big role in this.
Choosing insulated siding means you get many advantages, like saving energy and making your home last longer. Start by talking to a pro to see what’s best for your home improvement tips and needs.
With the right help and materials, you can put in insulated siding and have a quieter, more comfortable home. Begin your journey to a quieter home by looking into insulated siding options today.