Adding insulated siding to your home can make it more energy-efficient and look better. As a homeowner, you might want something that’s both strong and affordable to boost your home’s performance.
Putting in long lasting insulated siding needs careful planning and doing. This guide will help you through the steps. It offers useful tips and insights for a successful home improvement project.


Key Takeaways
- Understand the benefits of insulated siding for your home
- Learn the essential steps for a successful installation
- Discover how to choose the right materials for your project
- Improve your home’s energy efficiency and value
- Enhance your home’s exterior with a durable and attractive finish
Benefits of Long Lasting Insulated Siding
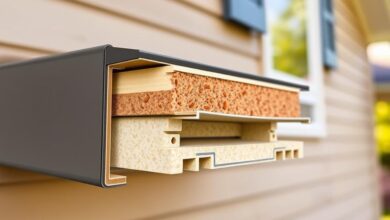
Long-lasting insulated siding offers many benefits. It improves energy efficiency, boosts durability, and adds aesthetic appeal. These advantages make your home more comfortable and increase its value.
Energy Efficiency and Insulation Value
Insulated siding helps keep your home’s temperature steady. It keeps your home warm in winter and cool in summer. This saves you money on energy bills.
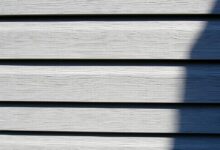
Durability and Weather Resistance
This siding can handle all kinds of weather. It stays effective and looks good for years, saving you from costly repairs.
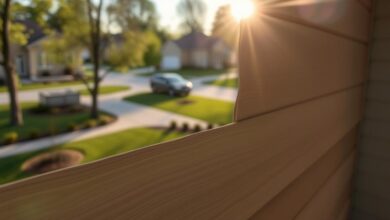
Aesthetic Appeal and Home Value
Insulated siding also makes your home look better. It comes in many styles and colors. This boosts your home’s appeal and value, making it a smart investment.
Some key benefits of long-lasting insulated siding include:
- Reduced energy consumption and lower utility bills
- Increased durability and resistance to weathering
- Enhanced aesthetic appeal and increased home value
- Low maintenance requirements
Tools and Materials Needed for Installation
Installing long lasting insulated siding needs careful preparation. You’ll need the right tools and materials. Having everything ready will make the job smoother and faster.
Essential Tools for the Job
You’ll start with essential tools. A tape measure is key for accurate measurements. A utility knife is needed for cutting siding panels. A circular saw helps with straight cuts.
A drill with various bits is necessary for holes. A level ensures your siding is straight. A ladder keeps you safe while working high up.
Required Materials and Components
You’ll need insulated siding panels, starter strips, corner posts, and J-channels. Don’t forget nails or other fasteners made for siding.
Depending on your home’s design, you might need utility trim and flashing. These cover edges and joints.
Safety Equipment You Shouldn’t Skip
Safety is always first. Safety glasses protect your eyes from debris. Work gloves give grip and hand protection.
A dust mask is vital when cutting to avoid dust. Make sure your ladder is strong and secure to avoid accidents.
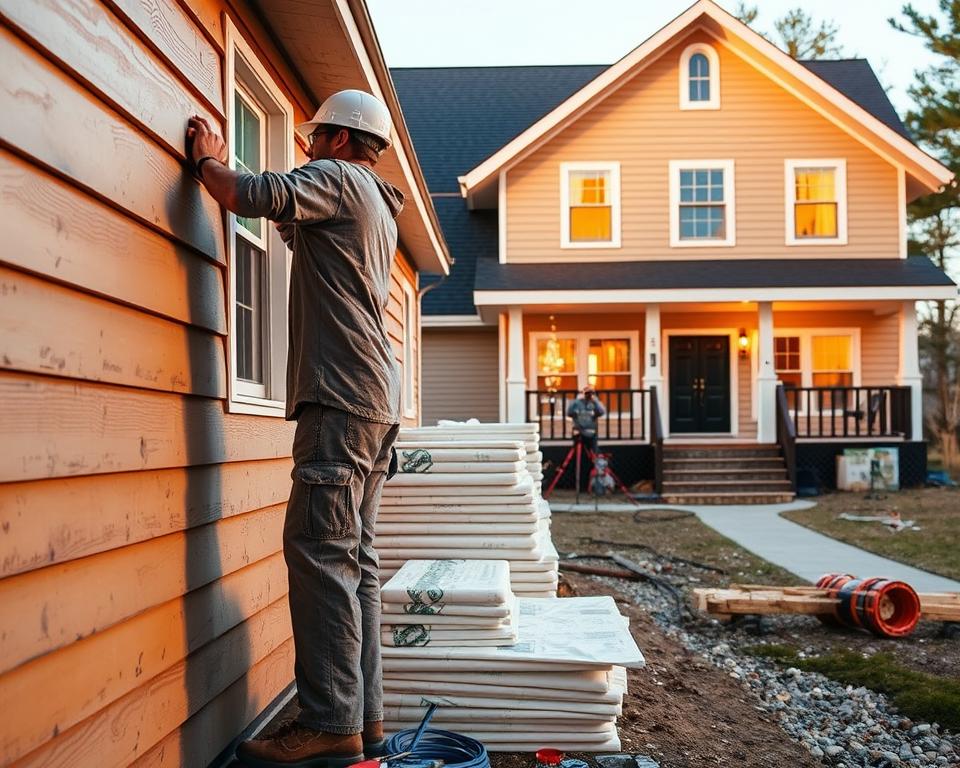
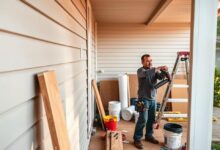
Preparing Your Home for Siding Installation
Before you start installing long-lasting insulated siding, it’s key to prepare your home right. This ensures a successful and lasting result. Proper preparation helps avoid costly mistakes and makes sure your new siding works well for years.
Inspecting and Repairing the Exterior Wall
The first step is to check the exterior walls for damage or rot. Look for signs of water damage, cracks, or gaps. Fixing any damage before installing new siding is vital to avoid future problems.
- Check for rotten or damaged wood and replace it.
- Seal any cracks or gaps with the right sealants.
- Make sure the wall is strong.
Removing Old Siding (If Applicable)
If you’re replacing old siding, removing it carefully is key to avoid harming the structure. Use tools like a pry bar or siding removal tool to avoid damage.
- Remove old siding carefully to check the wall underneath.
- Dispose of old siding properly.
Installing House Wrap and Moisture Barriers
Putting in a house wrap or moisture barrier is a must to stop water damage and air leaks. Make sure the wrap is installed right, with the printed side outwards and seams overlapped.
Measuring and Planning Your Layout
Getting your measurements right and planning is essential for a good siding installation. Measure your walls carefully and plan the layout to cut down on waste. Think about the starting point and direction of the siding for a nice look.
- Measure the length and height of your walls.
- Plan the siding layout to use materials wisely.
- Mark the wall with a chalk line to guide the installation.
By following these steps, you’ll be ready to install your new insulated siding. This will give you a durable and attractive finish.
Step-by-Step Installation of Long Lasting Insulated Siding
Installing insulated siding is easy when you break it down into steps. This guide will help you through each stage for a successful installation.
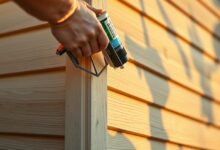
Installing Starter Strips and Corner Posts
Start by putting starter strips along your exterior walls’ bottom edge. These strips help the siding stay in place and keep a gap from the ground. Make sure the starter strip is level.
Then, add corner posts. These posts cover your home’s corners and give it a finished look. Ensure they are straight and securely attached.
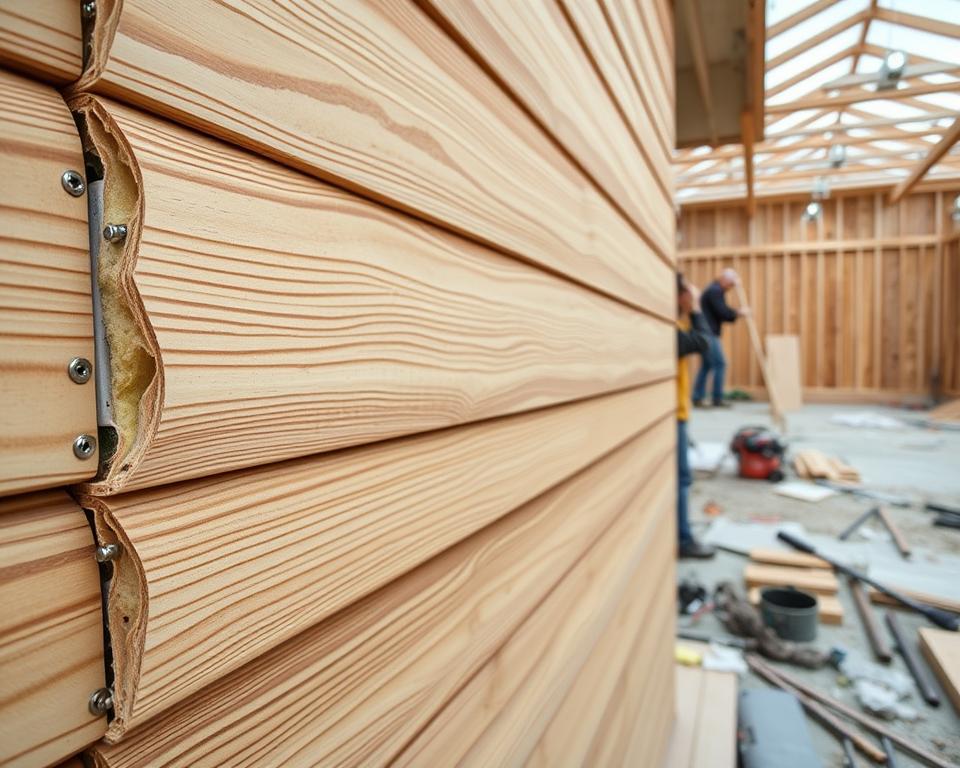
Cutting and Fitting Insulated Siding Panels
Measure and cut the siding panels as planned. Use a utility knife or a circular saw for clean cuts. Start from the center to avoid cutting panels too small.
Proper Nailing Techniques for Longevity
Use the right nailing techniques to secure the siding. Nails should be in the center of the slot, leaving space for expansion. Avoid over- or under-driving nails to keep the siding durable.
Working Around Windows and Doors
When siding around windows and doors, be precise. Use J-channels for a watertight seal.
Window Flashing and Trim Installation
Apply window flashing to keep water out. Make sure it fits well with the siding and window frame. Add trim for a finished look.
Door Surrounds and Finishing
Install door surrounds with J-channels and utility trim. Seal all seams to keep moisture out.
Installing J-Channels and Utility Trim
J-channels seal windows, doors, and openings. Utility trim finishes edges for a clean look. Follow the manufacturer’s instructions for installation.
By following these steps and focusing on details, you can get a professional installation. This will improve your home’s energy efficiency and look.
Finishing Touches and Quality Assurance
To ensure a successful installation, focus on the finishing touches and quality assurance. These final steps are key for your siding’s longevity and performance.
Sealing Joints and Edges
Sealing joints and edges is vital to prevent water damage. Use a high-quality sealant that matches your siding. Apply it carefully to fill all gaps and ensure even distribution.
Some key areas to focus on include:
- Seams between siding panels
- Edges around windows and doors
- Joints where siding meets other exterior features
Installing Flashing and Drainage Components
Proper flashing and drainage are essential for protecting your home’s foundation. Make sure flashing is correctly installed around windows, doors, and openings. Use drainage components to guide water flow.
Key considerations include:
- Using flashing that is compatible with your siding material
- Ensuring that flashing is securely attached
- Verifying that drainage components are functioning correctly
Color Matching and Touch-Ups
To keep your home looking great, touch up any cut edges or damaged areas. Use paint or touch-up materials that match the original color as closely as possible.
Final Inspection Checklist
Before finishing, do a thorough inspection to ensure quality. Check for:
- Proper alignment and spacing of siding panels
- Secure fastening of all components
- Effective sealing of joints and edges
- Correct installation of flashing and drainage components
By following these steps, you can ensure a high-quality installation that will provide long-term benefits for your home.
Conclusion
Installing long lasting insulated siding is a big step for your home’s look and energy use. By following the steps in this article, you can make your home look better and save energy. This will make your home more attractive and save you money in the long run.
Getting the siding right is key to enjoying its benefits. You need to prepare your home well, measure and cut the siding right, and install it securely. With the right tools and materials, you can make your home look like a pro did it.
Starting your exterior renovation is exciting. Long lasting insulated siding offers many benefits, like lower energy bills and longer siding life. Begin your project now and enjoy a home that’s both well-insulated and looks great.