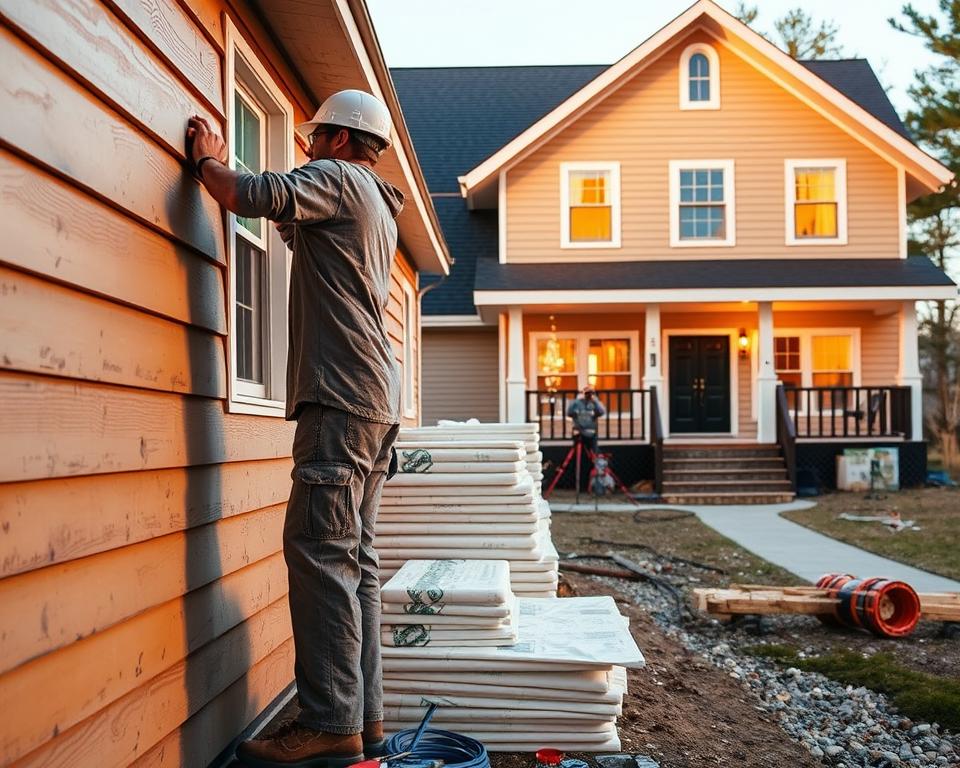
Adding insulated siding to your home can make it more energy-efficient and look better. It’s important to install it right to get the most out of it. This guide will help you install DIY insulated siding easily and confidently.
Putting in insulated siding might seem hard, but it’s doable if you break it down. We’ll go over the key steps and give you the info you need to finish your project well.

Key Takeaways
- Understand the benefits of insulated siding for your home.
- Learn the step-by-step process for DIY installation.
- Discover tips for ensuring a successful installation.
- Enhance your home’s energy efficiency and curb appeal.
- Gain confidence in tackling this home improvement project.
Understanding Insulated Siding
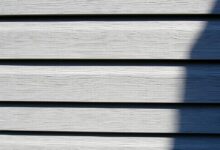
Insulated siding is a big step forward in home tech. It boosts energy efficiency, durability, and looks. Homeowners want to make their homes look better and save on energy. Insulated siding is a smart choice.
What Is Insulated Siding?
Insulated siding wraps your home in a layer of insulation and siding. It keeps your home cozy by blocking out cold and heat. This makes your home more comfy and cuts down on energy costs.
Benefits of Insulated Siding
Insulated siding has many perks for homeowners. Here are some of the main advantages:
Energy Efficiency Advantages
Insulated siding makes your home more energy-efficient. It stops heat from escaping or entering, keeping your home at a steady temperature. This saves you money on bills and helps the planet.
Noise Reduction Properties
It also reduces outside noise. The insulation layer mutes sounds, making your home quieter. This is great for homes in noisy areas.
Improved Home Value
Adding insulated siding can also boost your home’s value. Buyers like homes that save on energy. So, insulated siding is a smart investment for selling your home.
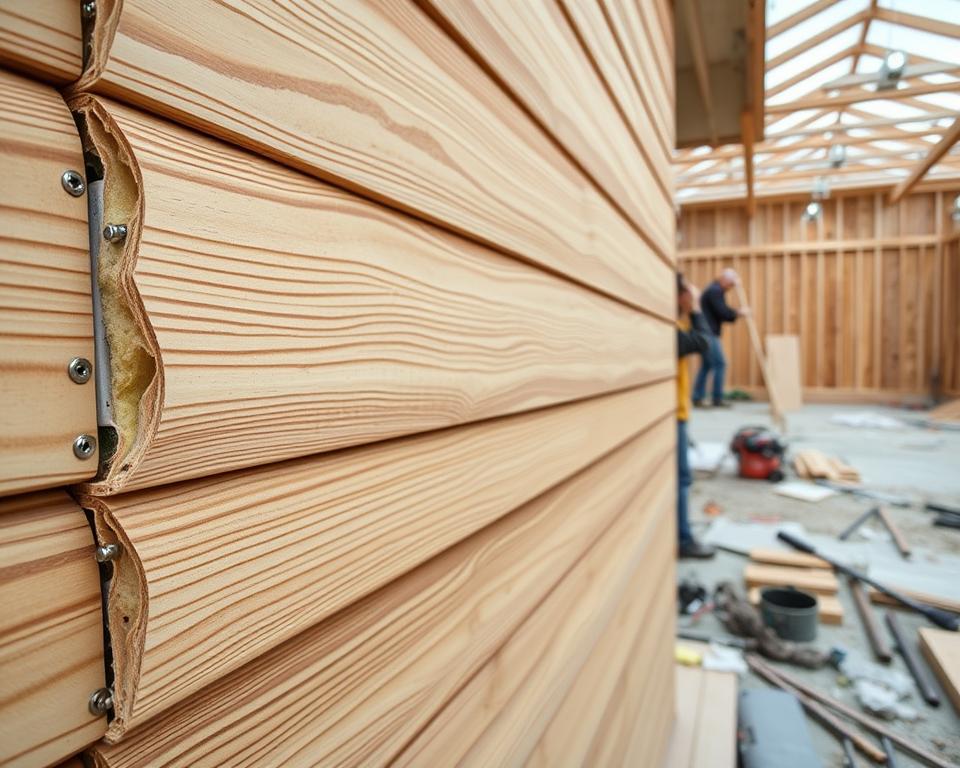
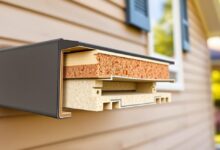
Types of Insulated Siding Available
There are many types of insulated siding out there. Each has its own benefits. Here are a few common ones:
Vinyl Insulated Siding
Vinyl insulated siding is loved for its toughness, easy care, and affordability. It comes in many colors and styles, fitting any home.
Fiber Cement Insulated Options
Fiber cement siding looks traditional but has insulation. It’s strong, pest- and fire-resistant, making it a safe choice.
| Type of Siding | Durability | Maintenance | Energy Efficiency |
|---|---|---|---|
| Vinyl Insulated Siding | High | Low | High |
| Fiber Cement Insulated Siding | Very High | Moderate | High |
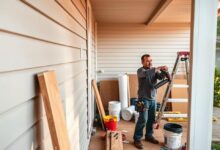
Tools and Materials Needed
For a successful insulated siding installation, you need the right tools and materials. Being prepared helps the process go smoothly and saves time.
Essential Tools for Installation
You’ll need various tools to measure, cut, and secure the siding.
Cutting and Measuring Tools
Getting accurate measurements is key. You’ll need a tape measure, level, and pencil for marking. For cutting, a circular saw or utility knife will depend on the siding type.
Fastening Equipment
To secure the siding, you’ll need a hammer or nail gun. Your choice depends on the project size and your preference.
Required Materials Checklist
Here’s a basic list of materials you’ll need:
| Material | Description | Quantity |
|---|---|---|
| Insulated Siding Panels | Main siding material | Based on wall area |
| Starter Strips | Initial strip at the bottom | Length of the wall |
| Corner Posts | For finishing corners | Number of corners |
Safety Equipment You Shouldn’t Skip
Safety is always first. Personal protective gear and ladder safety essentials are vital to avoid accidents.
Personal Protective Gear
This includes gloves, safety glasses, and a dust mask to protect against debris and dust.
Ladder Safety Essentials
Make sure your ladder is stable. Use ladder safety accessories like ladder levelers or have someone hold the ladder for you.
Preparation Steps Before Installation
Getting ready for insulated siding installation is key. It involves several important steps.
Safely Removing Old Siding
The first step is to safely take off the old siding. This needs to be done carefully to not harm the walls. Use the right tools and methods to remove it without damage.
Inspecting and Repairing the Wall Surface
After removing the old siding, check the wall for damage or issues. Look for moisture problems and structural damage. Fixing these problems is vital before starting the installation.
Addressing Moisture Issues
Moisture problems can cause big issues if not fixed. Make sure to repair any water damage or leaks before putting on the new siding.
Fixing Structural Problems
Any structural damage must be fixed for a stable surface. This might mean replacing rotten wood or strengthening weak spots.
Measuring and Planning Your Layout
Getting accurate measurements and a good layout is critical. Take your time to measure your walls and plan your siding layout. This helps avoid waste and ensures a professional look.
Weather Considerations for Installation Day
Check the weather forecast before the installation day. Bad weather can impact the installation and siding performance. Plan for the best weather conditions.

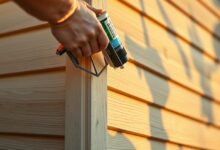
How to Install Insulated Siding
Installing insulated siding is a detailed process. It leads to a strong and good-looking exterior. This guide will show you the main steps, from getting the wall ready to finishing the last row of siding.
Installing Starter Strips and Corner Posts
Start by putting starter strips at the wall’s bottom edge. These strips give a place to nail the first row of siding and help it stay level.
Proper Alignment Techniques
To align right, draw a chalk line on the wall for the starter strip. Make sure the line is straight and level with a level tool.
Securing Corner Posts Correctly
Corner posts are key for a professional look. Make sure they are tight to the wall, straight, and line up with the starter strip.
Attaching the Insulation Backing
Before siding goes on, attach the insulation backing to the wall. This step boosts your home’s energy efficiency.
Installing the First Course of Siding
The first row of siding goes on the starter strip. Make sure it’s level and well-attached.
Ensuring Level Installation
Check the first row is perfectly level with a level tool. This is key for the siding’s look and strength.
Proper Fastening Methods
Use the right fastening method for your siding. Usually, this means nailing into the center of the slot.
Working Around Windows and Doors
Cutting and fitting J-channels around windows and doors needs precision. Make sure they fit tightly to stop water leaks.
Cutting and Fitting J-Channels
Measure and cut the J-channels carefully for windows and doors. Secure them well to the siding.
Flashing Installation
Flashing must be installed right to avoid water damage. Place it correctly around windows, doors, and other weak spots.
Installing Subsequent Courses
Keep adding siding courses, overlapping each as the maker suggests.
Cutting and Fitting Special Pieces
For special pieces, like around vents, measure and cut the siding carefully.
Common Mistakes to Avoid
Watch out for mistakes like wrong spacing and fastening errors. These can harm the siding’s quality.
Improper Spacing Issues
Make sure siding has the right gap between rows for expansion and contraction.
Fastening Errors
Avoid over- or under-driving fasteners. This can damage the siding or break its seal.
Finalizing Your Insulated Siding Installation
Now you’re ready to start your DIY siding project. Insulated siding boosts your home’s energy efficiency and lasts longer. It’s a smart choice for your home.
For a successful siding job, plan well, measure right, and pay attention to details. This guide has shown you how to do it all, from getting your walls ready to finishing the siding.
When you’re done, your home will look and feel better. Insulated siding makes your home look great and saves you money on energy. You’ll have a cozy and green living space.